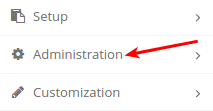
To create a new user first navigate to application and login to an administrator account.After logging into the application as an administrator there will be a navigation menu to the left with an ‘Administration‘ category. Dropdown the menu by clicking either the arrow or the box containing the category to list out all administration features.

From this list there will be an ‘Invite New User‘ sub-category used to invite new users to the current organization. Click this sub-category to bring up the invite new user form.
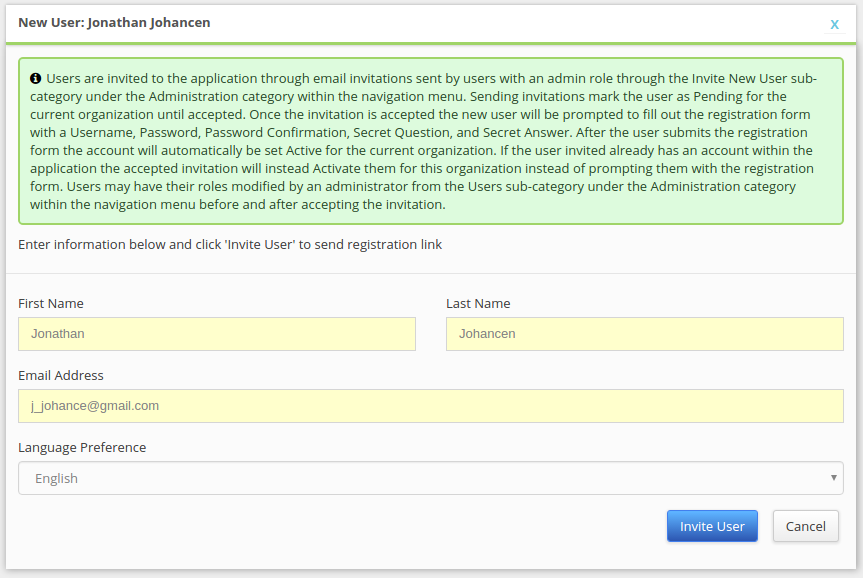
The ‘Invite New User‘ page will have a detailed description at the top regarding users highlighted in light green. This form will have three required fields; First Name, Last Name, and Email Address all highlighted in yellow and an optional language preference which determines which language the application will be translated to. The email also must be unique across all organization. Once the form is completely filled out click the ‘Invite User‘ button near the bottom right of the page to send an email invitation to the user.
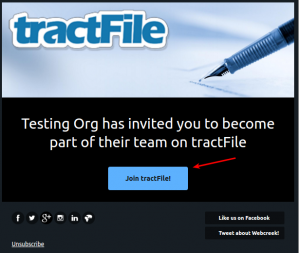
Invitations sent to the new user will need to be accepted by clicking the ‘Join‘ link in order to activate the user for the current organization.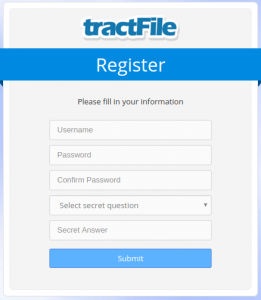
Accepting the invitation will direct the new user to a registration form only if the user does not have an account for any other organizations within the application. Otherwise if the user is already registered within the application the invitation will activate the user for the current organization rather than require registration information. The username must be unique across all organizations.
Passwords must meet at least 3 out of the following 4 complexity rules:
- At least 1 uppercase character (A – Z)
- At least 1 lowercase character (a – z)
- At least 1 digit (0 – 9)
- At least 1 special character (punctuation or space)
After the user clicks ‘Submit‘ they will be active for the current organization. See How to set user roles to grant further permissions to the new organization member!